
This manual guides the installation of the MHK2 Wireless Remote Controller, designed for Mitsubishi Electric indoor units․ It ensures safe and proper system setup, covering preparation, installation steps, configuration, testing, and troubleshooting procedures for technicians․ Follow instructions carefully to guarantee optimal performance and avoid potential hazards․
Overview of the MHK2 System
The MHK2 system is a wireless remote controller kit designed for Mitsubishi Electric indoor units, enhancing HVAC control․ It includes the MRCH2 Controller, MIFH2 Receiver, and MRC2 Cable․ This system enables seamless communication between components, providing advanced control and monitoring capabilities․ The MHK2 supports wireless connectivity, integrating with Kumo Cloud for remote access․ It is designed for efficient installation and operation, ensuring compatibility with Mitsubishi Electric systems․ The kit is intended for use by trained technicians, adhering to safety and installation guidelines outlined in the manual to ensure optimal performance and reliability․
Components of the MHK2 Kit
The MHK2 kit comprises essential components for a wireless control system․ It includes the MRCH2 Controller, a user-friendly wireless remote control, and the MIFH2 Receiver, which connects to the indoor unit․ The MRC2 Cable links the receiver to the system, ensuring reliable communication․ Additional accessories may include mounting hardware and batteries for the controller․ These components work together to provide seamless control and monitoring of Mitsubishi Electric HVAC systems, ensuring efficient operation and integration with advanced features like Kumo Cloud connectivity․

Purpose of the Installation Manual
This manual provides detailed instructions for installing, configuring, and operating the MHK2 Wireless Remote Controller․ It serves as a comprehensive guide for technicians, ensuring proper setup and integration with Mitsubishi Electric HVAC systems․ The manual covers safety precautions, system requirements, and troubleshooting tips to facilitate a smooth installation process․ By following the outlined steps, users can achieve optimal performance, reliability, and compatibility with their HVAC equipment, while minimizing potential risks and ensuring compliance with manufacturer guidelines․

System Requirements and Compatibility
This section outlines the system requirements for MHK2 compatibility, including supported Mitsubishi Electric indoor units, necessary hardware, software, and network specifications․ Refer to the manual for detailed compatibility and operational requirements․
Compatible Mitsubishi Electric Indoor Units
The MHK2 controller is designed to work seamlessly with select Mitsubishi Electric indoor units, including the MSZ-GE and MVZ series․ Compatibility ensures optimal performance and control․ Proper installation requires attaching the MRC2 cable to the CN105 connector on the indoor unit’s control board․ This ensures reliable communication between the MHK2 controller and the indoor unit․ Always verify compatibility before proceeding with installation to avoid potential issues․ Refer to the manual for a comprehensive list of supported models and configurations․
Hardware and Software Requirements
The MHK2 system requires the MRCH2 Controller, MIFH2 Receiver, and MRC2 Cable for proper functionality․ Ensure the indoor unit is compatible and the MRC2 Cable is securely connected to the CN105 connector․ Two AA alkaline batteries are needed for the controller․ A Wireless Interface 2 is mandatory for Kumo Cloud integration․ The system must be installed by a trained technician to ensure compliance with safety and operational standards․ Proper hardware and software configuration is critical for seamless performance and remote monitoring capabilities through the Kumo Cloud app․
Network Requirements for Wireless Connectivity
For wireless operation, the MHK2 system requires a stable internet connection and a 2․4 GHz Wi-Fi network․ Ensure the Wireless Interface 2 is installed and configured correctly․ The MHK2 Controller must be linked to the wireless network during setup․ A compatible router with WPA2 encryption is recommended․ The system integrates with Kumo Cloud for remote monitoring, requiring proper network configuration․ Ensure all devices are connected to the same network for seamless communication․ Verify network settings before proceeding with installation to avoid connectivity issues;
Safety Precautions
Disconnect power before installation to avoid electrical shock․ Ensure proper grounding and follow all electrical safety guidelines․ Avoid exposing components to moisture or extreme temperatures․ Handle electronics with care to prevent damage from static electricity․ Install in well-ventilated areas, away from flammable gases or materials․ Adhere to all local safety regulations and manufacturer recommendations;
Disconnecting Power Before Installation
Disconnecting power before installation is critical to prevent electrical shock or equipment damage․ Switch off the main power supply and verify it is completely de-energized using a voltage tester․ Ensure all capacitors are discharged to avoid unexpected electrical discharges․ Never attempt installation without proper power disconnection, as it can lead to severe injury or system malfunction․ Follow all safety protocols outlined in this manual and local electrical codes to ensure a safe working environment․ Proper power disconnection is the first step in a safe and successful installation process․
Electrical Safety Guidelines
Adhere strictly to electrical safety standards when installing the MHK2 system․ Always use appropriate tools and personal protective equipment, such as insulated gloves and safety glasses․ Never work on live circuits; ensure all power sources are disconnected and verified de-energized․ Grounding systems must be properly connected to prevent electrical hazards․ Avoid exposing components to water or moisture, which can cause short circuits․ Follow all instructions in this manual and local electrical codes to ensure a safe installation process․ Failure to comply may result in injury or damage to the system․ Regular inspections are recommended to maintain safety standards․
Environmental Considerations
Ensure the MHK2 system is installed in an environmentally responsible manner․ Dispose of packaging materials and old components according to local regulations․ Avoid exposing the system to excessive moisture or extreme temperatures, which can damage components․ Properly secure all cables to prevent vibration or movement that could cause wear and tear․ Maintain the system regularly to ensure energy efficiency and reduce environmental impact․ Follow all guidelines to minimize waste and promote sustainable operation of the MHK2 controller and related devices․ Regular maintenance ensures optimal performance and longevity of the system while protecting the environment․

Installation Process
The installation process involves disconnecting power, attaching the MRC2 cable, and mounting the MHK2 Controller․ Follow guidelines for secure setup and ensuring optimal performance․
Preparation Steps
Before starting, disconnect power to the system to ensure safety․ Install AA batteries in the MHK2 Controller and prepare the MRC2 cable for connection․ Verify compatibility with Mitsubishi Electric indoor units and gather necessary tools․ Read the manual thoroughly to understand the process․ Ensure the wireless network is accessible for linking devices․ Check for any firmware updates or specific settings required for optimal performance․ Proper preparation ensures a smooth and successful installation process․ Always follow safety guidelines and manufacturer instructions to avoid potential issues or hazards․
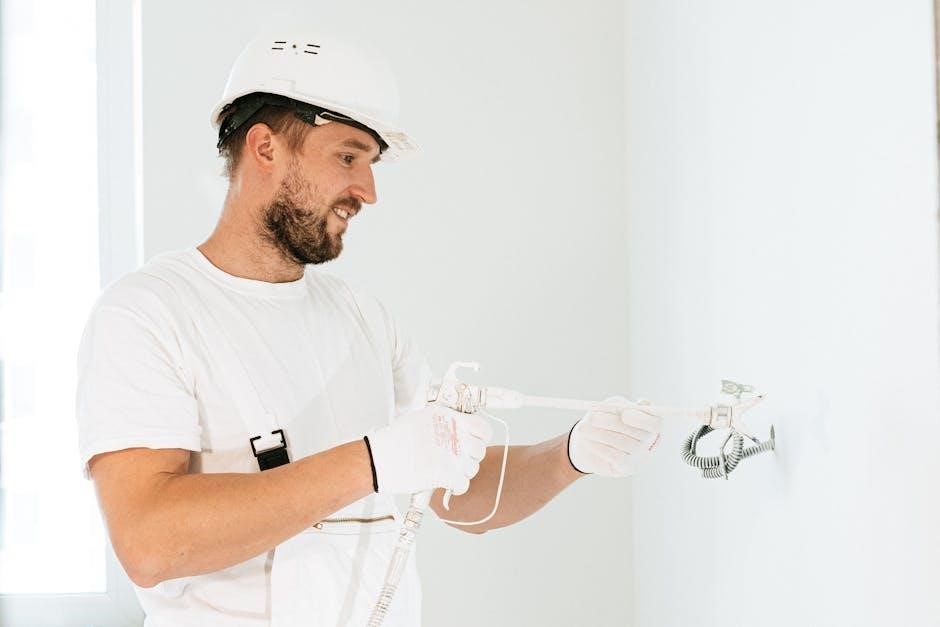
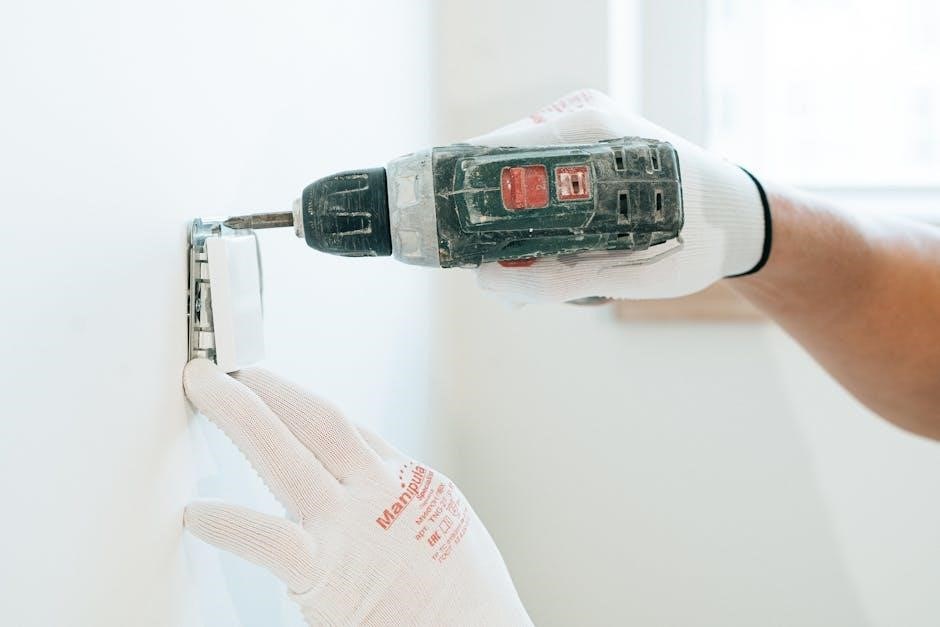
Physical Installation of the MHK2 Controller
Mount the wall plate at the desired location, ensuring it is level and secure․ Attach the MHK2 Controller to the wall plate by aligning it properly and gently pushing until it clicks into place․ Connect the MRC2 Cable to the CN105 connector on the indoor unit’s control board, ensuring a secure connection to prevent any communication issues․ Verify that all connections are tight and the controller is firmly mounted to avoid loose connections, which could lead to malfunctions or signal loss during operation․

Connecting the MIFH2 Receiver
Locate the MIFH2 Receiver and ensure it is placed near the indoor unit for optimal signal strength․ Connect the receiver to the indoor unit’s control board using the provided connectors, following the wiring diagram in the manual․ Secure all connections firmly to prevent loose wires, which can cause communication failures․ Once connected, power on the system and verify the receiver’s status through the MHK2 Controller․ A successful connection will enable seamless communication between components, ensuring proper system operation and control․
Attaching the MRC2 Cable
Align the MRC2 Cable’s connectors with the designated ports on the MRCH2 Controller and MIFH2 Receiver․ Gently secure the cable, ensuring a snug fit to avoid loose connections․ Route the cable neatly to prevent damage or interference․ Once connected, verify the cable’s integrity by checking for any visible damage or kinks․ Properly securing the MRC2 Cable is crucial for maintaining reliable communication between the controller and receiver, ensuring smooth system operation and minimizing potential disruptions․

Configuration and Setup
Configure the MHK2 system by linking devices to the wireless network, exiting setup mode, and navigating advanced menu options for customized settings and optimal performance․
Linking Devices to the Wireless Network
To link devices, press the CONNECT button on the receiver and select the pairing option on the MHK2 controller․ Ensure the network is stable and within range․ The MHK2 will search for available devices and confirm the connection once successful․ If pairing fails, restart the process and verify network settings․ A successful link ensures seamless communication between components․ Always follow the manual’s instructions for proper configuration to avoid connectivity issues and ensure reliable system operation․
Exiting Wireless Setup Mode
After successfully linking devices to the wireless network, exit setup mode by selecting “Done” on the MHK2 controller․ This transitions the system to the initial installer setup screen, confirming that wireless configuration is complete․ Ensure all connections are stable before exiting to prevent reconfiguration․ The system will now operate with the newly established settings․ Properly exiting setup mode is crucial for maintaining connectivity and ensuring the system functions as intended without interruptions or errors․
Navigating the Advanced Menu Options
The advanced menu on the MHK2 controller provides access to detailed settings for optimizing system performance․ Access it by selecting the “Settings” icon and entering the installer code․ Key options include sensor calibration, scheduling, and system configuration; Use the navigation buttons to scroll through menus and adjust parameters as needed․ Ensure settings align with your HVAC system requirements for optimal operation․ Proper navigation and configuration of these options are essential for achieving desired performance and efficiency․ Refer to the manual for specific guidance on advanced features and customization․

Testing and Verification
Perform a system test to ensure all components function correctly․ Verify connectivity with Kumo Cloud and check communication between the MHK2 controller, receiver, and indoor units․
Performing a System Test
To ensure proper functionality, perform a system test after installation․ Press the CONNECT button on the receiver and verify pairing success on the MHK2 screen․ Test all remote functions, including temperature adjustments and mode changes․ Check connectivity with Kumo Cloud for remote access․ Ensure communication between the MHK2 controller, MIFH2 receiver, and indoor units is stable․ Review error codes if issues arise and consult the troubleshooting section for resolution․ Confirm all operations are responsive and functioning as intended before finalizing the setup․
Verifying Connectivity with Kumo Cloud
After installation, verify Kumo Cloud connectivity to ensure remote access․ Open the Kumo Touch app and log in to your account․ Ensure the MHK2 controller is paired with the receiver and linked to your wireless network․ Check the app for real-time updates and control functionality․ If connectivity fails, restart the router, ensure stable internet, and confirm device pairing․ Refer to the MHK2 manual for troubleshooting steps if issues persist․ Successful connectivity allows seamless control of your HVAC system via the Kumo Cloud platform․
Ensuring Proper Communication Between Components
To ensure proper communication between the MRCH2 controller, MIFH2 receiver, and MRC2 cable, verify all connections are secure and aligned with the installation manual․ Check the signal strength between wireless devices and confirm the receiver is correctly paired with the controller․ Ensure the MRC2 cable is securely attached to the CN105 connector on the indoor unit․ Power cycle the system if communication issues arise․ Consult the troubleshooting guide for advanced diagnostics if problems persist․ Proper communication ensures seamless operation and control of your HVAC system through the MHK2 interface․
Troubleshooting Common Issues
Identify symptoms, check connections, and consult the troubleshooting guide for resolving connectivity, configuration, and communication issues․ Ensure proper installation and refer to the manual for detailed solutions․
Resolving Connectivity Problems
Check power status and ensure all connections are secure․ Verify the MHK2 controller is properly paired with the MIFH2 receiver․ Restart devices if necessary․ Ensure stable network connectivity and confirm devices are linked to the correct wireless network․ Use the Kumo Cloud app to verify communication status․ If issues persist, consult the manual for advanced troubleshooting steps, such as resetting the system or checking for firmware updates․ Ensure the Wireless Interface 2 is correctly installed and configured for Kumo Cloud integration․
Addressing Configuration Errors
Review installation steps to ensure all settings match requirements; Check device pairing and network connections․ Verify ISU settings and ensure the system is properly commissioned․ Use diagnostic tools in the Kumo Cloud app to identify issues․ If configuration errors persist, reset the MHK2 controller and re-link devices to the wireless network․ Consult the manual for detailed instructions on advanced menu options and settings․ Ensure all firmware is up-to-date for optimal performance; Follow the troubleshooting guide for specific error codes or unexpected behavior during setup․
Fixing Communication Failures
If communication issues arise between components, first verify all connections, including the MRC2 cable and MIFH2 receiver․ Ensure the MHK2 controller is properly paired with the receiver and linked to the wireless network․ Check for signal strength and interference from other devices․ Restart the system and test communication again․ If issues persist, consult the diagnostic tools in the Kumo Cloud app or the manual for specific error codes․ Ensure firmware is updated and settings are correctly configured for optimal performance․
The MHK2 installation process ensures seamless control of Mitsubishi Electric systems․ Proper setup and final checks guarantee reliable performance and compatibility, optimizing your HVAC experience․
Final Checks and System Validation

After completing the installation, perform a thorough system test to ensure all components function correctly․ Verify the MHK2 controller’s connectivity with the indoor unit and Kumo Cloud․ Check remote operation, temperature control, and mode changes․ Confirm proper communication between the MRCH2 controller, MIFH2 receiver, and MRC2 cable․ Validate system performance aligns with the manual’s guidelines․ Ensure all safety features and advanced settings are operational; Document any issues and address them before finalizing the setup․ This step ensures reliable long-term performance and user satisfaction․
Best Practices for Ongoing Maintenance
Regularly inspect and clean the MHK2 controller and receiver to prevent dust buildup․ Replace batteries annually or as needed to maintain reliable operation․ Ensure firmware is updated to the latest version for optimal performance․ Schedule periodic system checks with a certified technician to verify connectivity and functionality․ Keep all components free from environmental hazards like moisture or extreme temperatures․ Refer to the MHK2 manual for detailed maintenance schedules and guidelines to extend system longevity and ensure consistent performance over time․
Resources for Further Assistance
For additional support, refer to the official Mitsubishi Electric website for downloadable PDF manuals, including the MHK2 Installation Manual and Operation Guide․ Visit the Mitsubishi Electric Trane HVAC US LLC portal for updated resources and contact information․ Utilize online forums and technical support channels for troubleshooting tips and expert advice․ Ensure all inquiries are directed to certified professionals for accurate guidance and compliance with manufacturer recommendations, ensuring optimal system performance and user satisfaction․